Know when you put all your cards on a specific styling product to get you that Bomb! look and it ends up in a big flop? Yes… No!? Don’t bother answering that, I know this has happened to ALL of us. From a newbie who doesn’t know what products to use for what to a more experienced curly who decides to try a shiny new product or a new product combo, the truth is we’ve all had our fair share of hairstyling fails. Though the most natural reaction is to blame the product and dismiss it as rubbish, the truth is the problem might be our hairstyling technique. Wanna improve that?! Well, then keep reading.
Basic Hairstyling Principles
When prepping your hair for any hairstyle, you gotta have a few things in mind so that when all is done and dry, you end up with the result you anticipated. For this to happen you need to consider a few things.
Intention
One of the things that dictate the success of your hairstyles or how much you like what you see in the mirror is Intention. Intention refers to being clear about the look you’re going after. How do you want your hair to look? Big and voluminous or more controlled? Where do you want your part? Do you want a part or need one?
An important factor to consider is your hair’s characteristics, such as texture and density, which have a big impact on your final look. So, for instance, if you have low-density hair, making small sections for a braid out will make it look like you have even less hair because it compacts the hair. The same thing won’t happen to high-density hair.
Next, think about how you’re setting your hair. Do you want your part to be on the left but you set it on the right? Chunky braids mean more volume and less style longevity whereas smaller ones mean less volume and more longevity (depending on the right product choice).
Product Choice
Product choice is everything! Choose the wrong one and your desired hairstyle won’t even launch. That is the case when you choose a gel for a protective style and end up with no definition (or it’s quickly lost) or when you’re looking for a hairstyle with longevity, but the product you choose has no hold on it.
And just as a side note, that really isn’t a side note since many people are still doing it, using raw butters (yes, shea butter too!) and oils to style your hair is a sure way to have everything go south. I know that what I just said might be taken as disbelief, but I had to say it. Besides, I talk from experience. If you go back to some of my old posts, when I started my natural hair journey and wasn’t consulting yet, I used butter and oils for styling, and my hairstyles didn’t last long. To sum up, oils and butters don’t have any property in them that allows them to hold a style. They will only lend your hair smoothness and shine, not much more. Better to have them formulated into a product.
Also, have you ever heard the saying, ‘ Too many cooks spoil the broth’? Well, it kind of applies to hairstyling, too. Too many product combos for a single hairstyle will ‘kill’ the end result. Often, you get snowflakes on your hair because the products’ formulations don’t mix well, or you get an itchy scalp.
Sit It Well
Once you’ve gone through all previous checkpoints it’s important you don’t touch, manipulate or mess around with your hair before it dries completely. Doing this will disturb the way your hair is set. For a wash and go this means ending up with frizz which can go from light frizz to major frizz ball if you can’t keep your hands off your hair.
For protective hairstyles, to let it sit well means you need to consider if you’re braids outs, twists outs or bantu knot outs are not set too loose or not tight enough so that when you unravel them, you can’t almost see the new pattern.
In addition to making sure the braids, twists or bantu knots are tight enough you have to let them dry completely. It’s not enough to wash on one day, sleep over it and unravel your braids, twists or bantu knots the next day. This won’t work! Your hair will still be wet or damp and then, once you unravel your hair, it will finish drying freestyle with no definition and with frizz.
To avoid this situation, let your protective style air dry for 2 to 3 days. This will, of course, depend on the temperature where you live or the season. If you don’t want to wait that long, speed up the process by sitting under a hooded dryer and then wait 1 day or let the dryer to all the work and be done in a day. 🙂
Were these tips helpful? What is your biggest problem when setting your hairstyles?
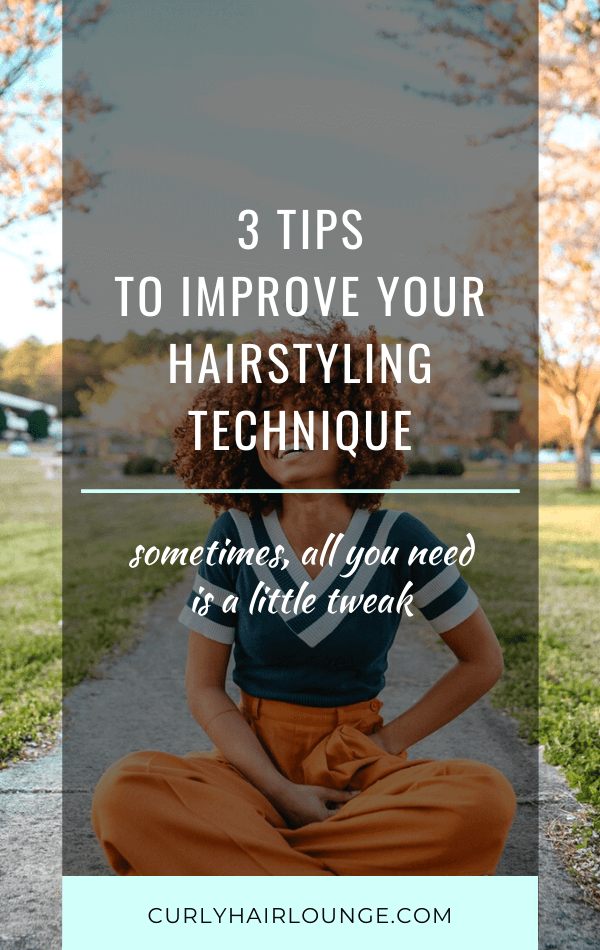
Featured Image by Teymi Townsend_Unsplash

One thought on “3 Tips To Improve Your Hairstyling Technique”
NYC blog, thanks for sharing.