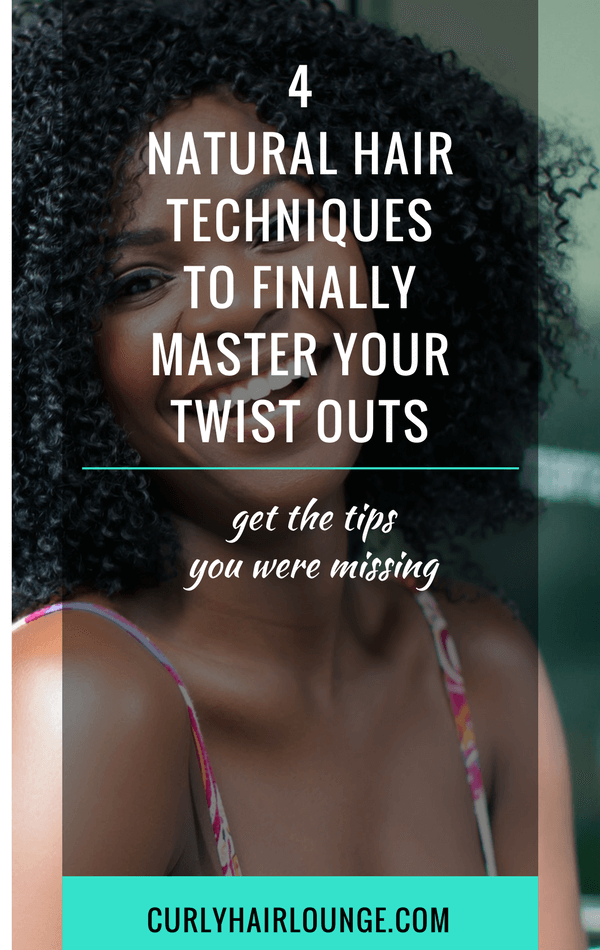
It’s been a long time since I last posted a hair tutorial here on the blog and today’s post isn’t specifically about a hairstyle tutorial, it’s more about you getting the best result possible. Yeah, today is all about you (as always :D)! It’s about that moment you get in front of the mirror to check the final result of your protective hairstyle and you suddenly realise Tracee Ellis Ross ain’t got nothing on you!. ‘Yeah, girl You-Are-Slaying-It’!! So if you feel you wanna replicate a moment like this, here are a few natural hair techniques to finally master your twist outs.
I’ll start out by sharing with you that twist outs are one of my favourite low maintenance protective hairstyles. However, lately, I realised I have become addicted to braid outs. I love the final texture my hair gets, how bouncy and soft it gets, the definition, the shine… you can check a few of my results my the Instagram profile here.
Anyway, the reason I became so addicted to them it’s because they are easy for me to do and I can basically replicate the same results time and time again. I have finally mastered the technique to make braid outs. Nevertheless, today I want to talk about Twist Outs and how you can master them too.
Twist outs were also a favourite of mine when I was transitioning (with the help of perm rods to curl my ends) and I intend to get back at them to help me fight my ‘braid out addiction’. 😉 The final texture you get when you unravel them are these soft, curly waves that look amazing.
A lot of people talk about or are too preoccupied with products, what should they buy, or what is everyone else using so they get the same results, but the truth is if you haven’t figured out the technique your results will vary! Yes, products are important but I believe technique is much more.
As I shared before, I am able to get the same results over and over again because I have mastered the technique. How do you do this?! By practising multiple times and, in some cases, making some tweaks to your technique to adjust to your hair’s characteristics.
But, let’s get to what’s important and what you really wanna know… the techniques to become a pro.
#1| Damp, Wet or Soaking Wet Hair?
This one will vary according to your specific preferences and the results you normally get when you style your hair (any hairstyle). I personally like to apply my products on wet hair, almost soaking. I tried doing it on damp hair before and I didn’t like the results. My hair won’t have as much definition and it will get frizzy and dry much quicker.
I have medium-thick hair and I’ve found that, generally, coarser (thick) hair will get best results with wet to soaking wet hair. On the other hand, my daughter has fine-textured hair and her hair performs better when products are applied on damp hair. Why? Because her hair gets easily overloaded with product, it can only take so much. So if it’s wet or soaking wet it won’t be able to get all the benefits from the ingredients in the products… and you want that in your hair, right?… If not, there goes definition and ‘Hello, frizz‘!
So, yeah make sure you follow your hair’s preferences. If you don’t know what these are, try following my tip and let me know how that goes. 😉
#2| Section Your Hair
Sectioning is a smart way of dealing and handling curly hair. It reduces your stress, facilitates detangling, styling and, in this particular case, it guarantees even distribution of hair products. This is important because you wanna make sure your moisturiser and styling products get to every single strand of hair.
Doing this will ensure your hair has the best definition and doesn’t get dry and frizzy. It may be you like a little frizz to give you that big ‘afro look’ and not the perfect definition, and this is okay! Just make sure you don’t lose all of it. If you want that afro look, an alternative would be to use a hair pick and lift your hair roots. In any case, sectioning your hair can make your life easier when styling your hair.
#3| Twist Tightly
Taking two strands of hair and twisting them over each other doesn’t have much science to it. It’s simple. easy and any child with sufficient motor skills can do it, however, there is an effective way to do it that will give the best twist out.
Simply put, when you have your two strands of hair and are about to start twisting them don’t leave a big gap between the hair you hold in your fingers and the hair already twisted. Have your hands close to the twisted hair and twist it tightly all the way to down close to the ends and then twirl your hair around your finger. I like doing this to avoid getting tangles and knots.
#4| Twist In The Direction Of The Curl, Or Not?!
I learned this one recently and thought about sharing it here, it could make all the difference in how your hairstyle come out. The word on the streets tells us to make sure we twist them in the direction our hair curls, this way we’ll retain definition for longer. If we twist against the curl our hair will have the tendency to go back to its original form, especially if it catches any glimpse of humidity. It’s definitely a natural hair technique you wanna have up your sleeve.
I personally twist the way it feels more comfortable to me since it hasn’t affected my curl definition. Twisting in the direction our curls can prove to be very difficult and impractical we may have a section of hair which has curls going in opposite directions. Also, imagine doing twists at the back of your neck while trying to check the direction of your curls… 😀 Ultimately, do whatever feels right to you.
Hey, to tackle my ‘braid out addiction’ I set myself the goal to make twist outs and I shared my goal in the Facebook Group, where I’ll share pictures to show my work. This will help give me accountability and motivation from the group.
If you wanna set a new goal on your hair journey you can get the worksheets below to help you set your goals and to help you accomplish them you can join our Facebook Group.

Ready to tackle your next twist out and feel like a master at it?! Then be sure to try these curly hair tips on your next wash day and let me know how you got along.


4 thoughts on “4 Natural Hair Techniques To Finally Master Your Twist Outs”
Hi Monica, lot’s of good ideas as usual. My hair is extremely coiled and as you know not very long. When I undo the 2 strand twist the back usually looks like a shelf… kind of layered. I use the pick but not all the way through as that would take away the curl patter and leave a big ‘fro. Any ideas or suggestions.
Thanks,
Jennifer
Hi Jennifer,
Since your hair is not long, and to avoid the shelf look, have you tried tying your hair up in a pineapple (or similar with a scarf) so that when you take your hair down in the morning it won’t be flat? This way you get more volume. Another solution, when you are unravelling your twists is to separate the two strands into 4 or more, this will give you more volume and you can also pick the roots too.
Try this and let me know if it helps.
Monica
Thanks Monica. I will try the unraveling into 4. I have tried pineapple=it just does’nt work with my length and it’s not easy to get that scarf to stay on through the night!
For nighttime what I have been doing is 4/5 big twists.
You’re welcome, Jennifer!